King & Rook Checkmate
King and Rook Checkmate
As the game reaches the end, many players will find that they don’t have much material to checkmate with. As a result, chess players might have to checkmate with a few pieces. The following section will detail checkmates with just a king and a rook.
Starting Position:
Black will attempt to checkmate the white king with just the two pieces on the board. For a new player, it might seem difficult, but experienced players are able to ensure victory every time this situation occurs. To win, black will need to constantly utilize both pieces to eventually corner the white king.
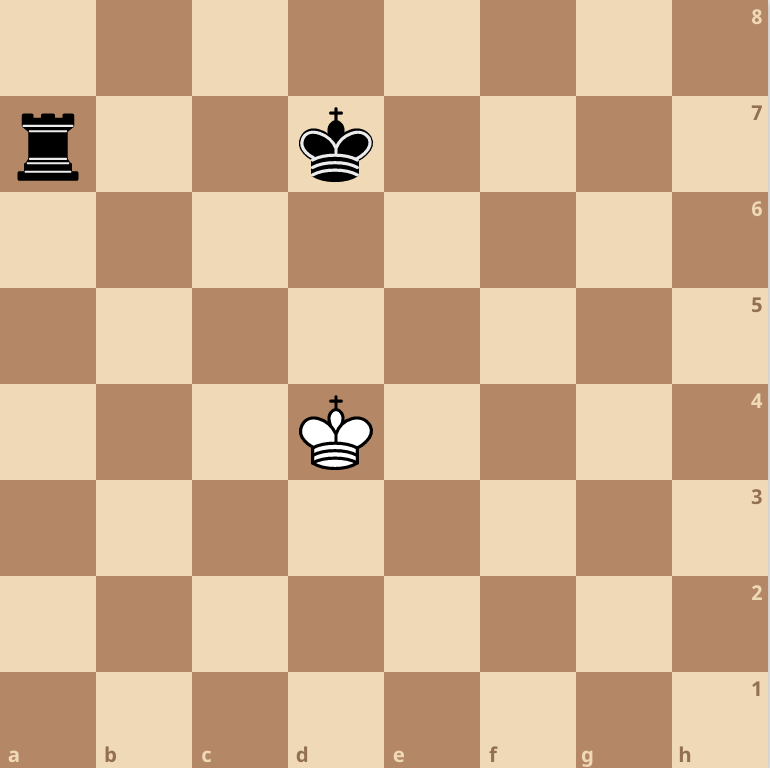
Move 1: Ra5
Black moves Ra5 to limit the white king’s movement. The white king cannot move past the fifth rank now, meaning it only has access to half the board. A powerful move that will help in limiting the white king’s options.
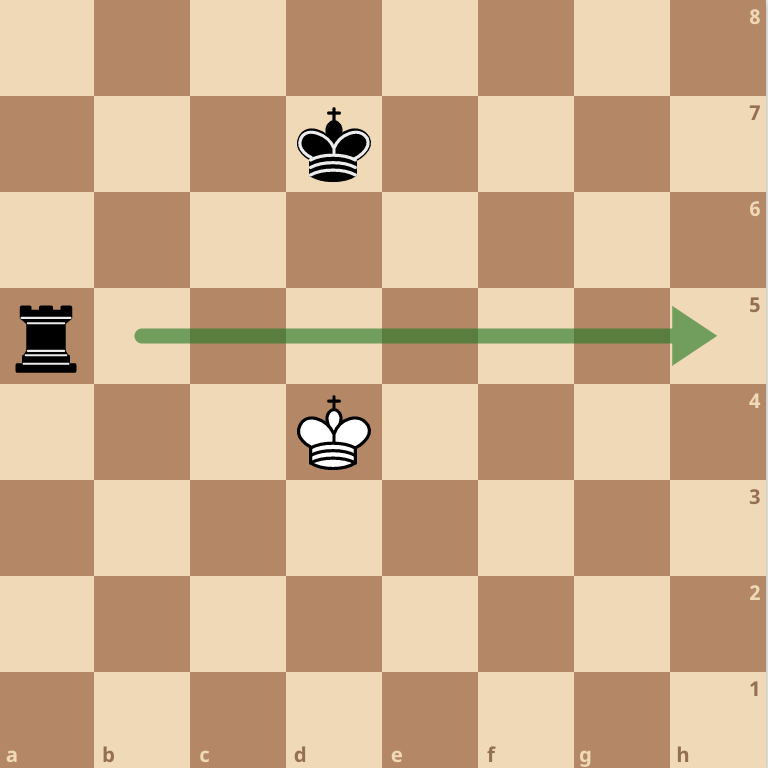
Move 2: Kc4, Kc6
The white king moves to attack the black rook but it’s a futile effort. The black rook is on an open file and rank, meaning the piece has many opportunities to escape while maintaining its restricting effect on the white king. Black moves the king closer to the white king to coordinate an attack in the next move.
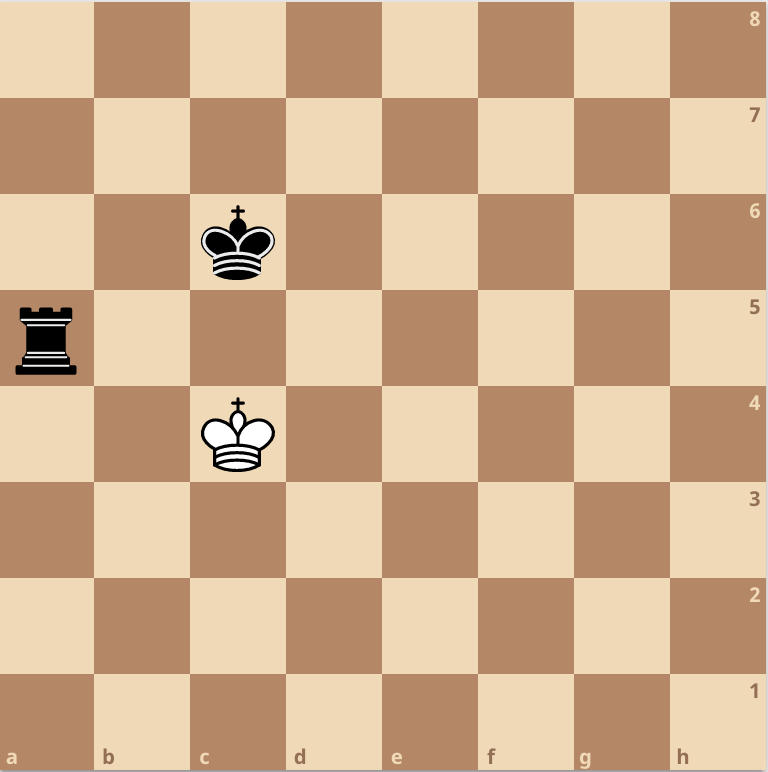
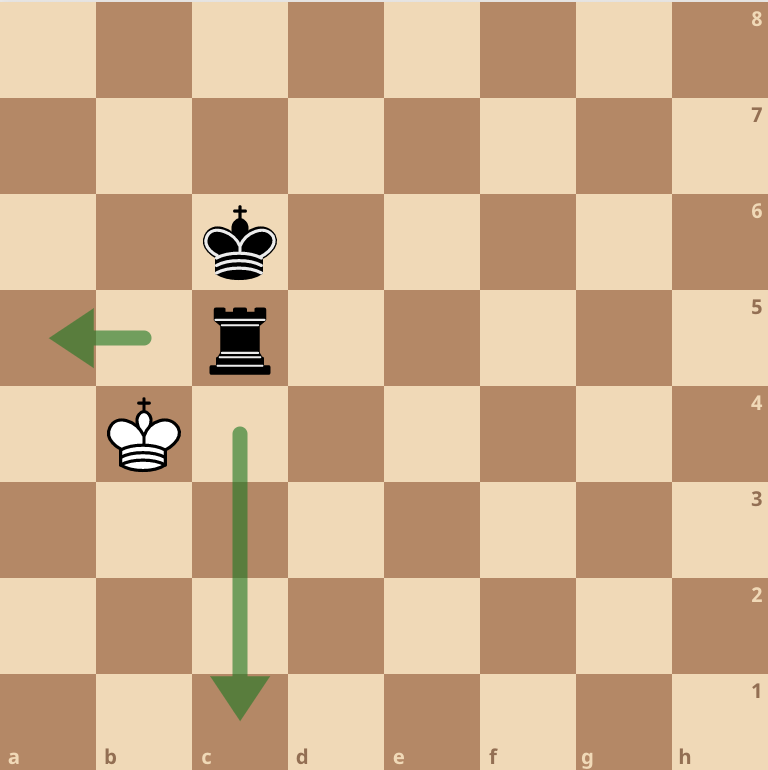
Move 3: Kb4, Rc5
White continues its assault on the black rook. Unfortunately, the black rook moves again to limit the white king’s movement. The white king cannot access the c-file or the fifth rank anymore. Additionally, the black rook is safe because the black king is defending the piece. From this point on, maintaining a coordinated attack between the king and rook will be crucial for black’s victory.
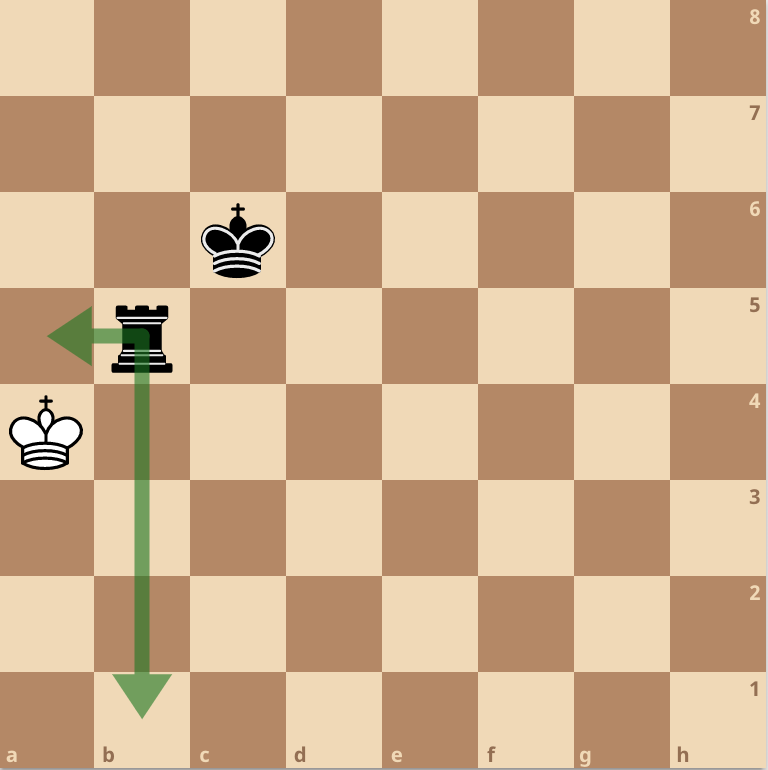
Move 4: Ka4, Rb5
White makes a mistake that will allow black to achieve checkmate more quickly. The black rook moves to control the b-file which limits the white king’s movements further. Now, the white king can only access a few squares on the a-file. Take a moment to consider the situation. A few moves ago, the white king had access to about half the board. In present time, the white king can only move within four different squares. With proper strategy and thought, a player can greatly control their opponent’s actions and limit their options.
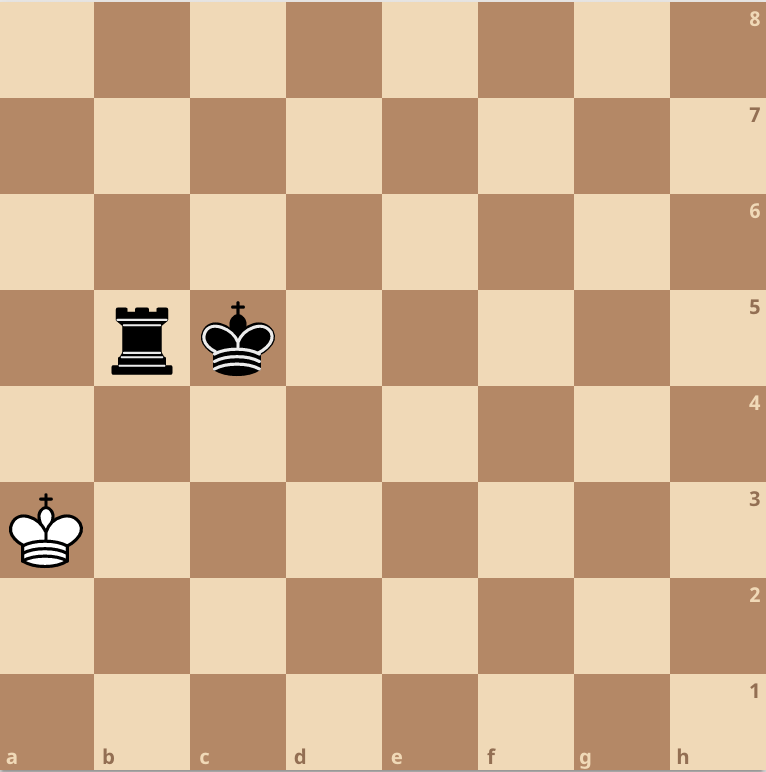
Move 5: Ka3, Kc5
The white king tries to escape by running down the a-file, but the black king and rook are in hot pursuit. The black king moves down to provide assistance and backup in the eventual checkmate.
Move 6: Ka4, Kc4
The white king tries to hold onto the a-file by moving back up. Black moves its king down to prepare for another attack.
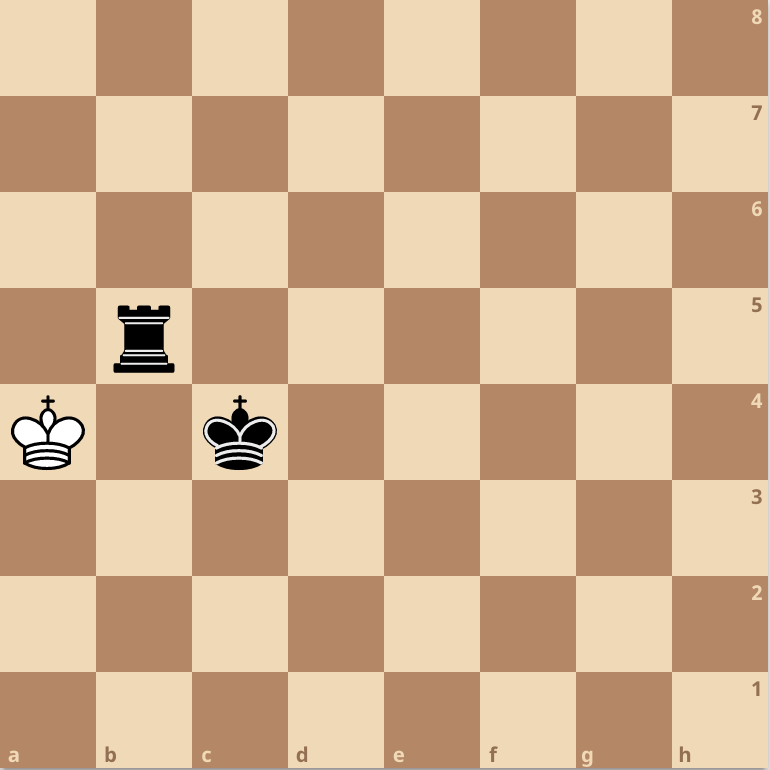
Move 7: Ka3, Rb4
The white king has no choice but to move back down to Ka3. Black moves its rook down again to limit the white king’s movement.
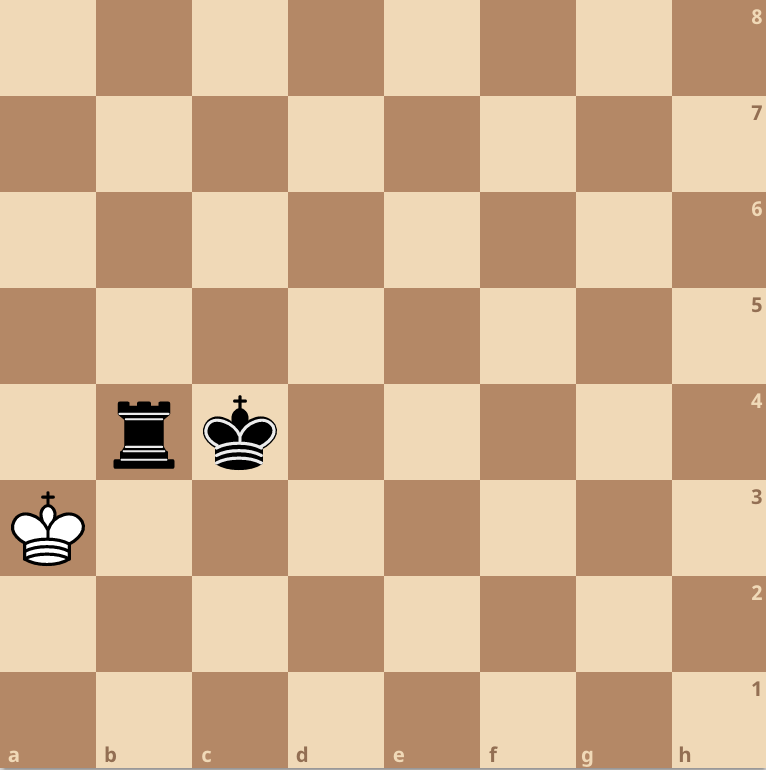
Move 8: Ka2, Rb3
The white king must move down because it cannot move to any other squares. Again, black moves its rook down to limit the white king’s movement again.
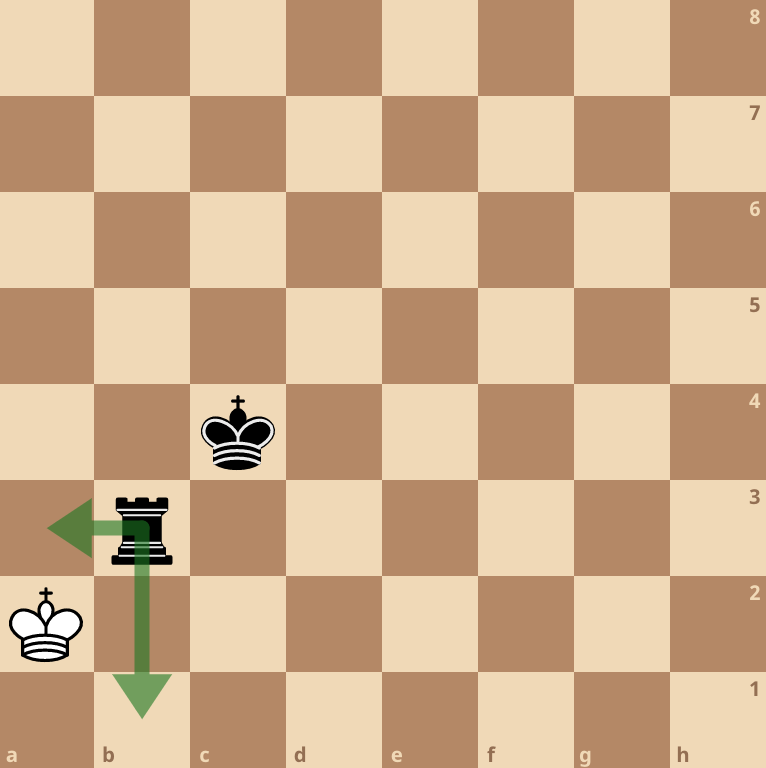
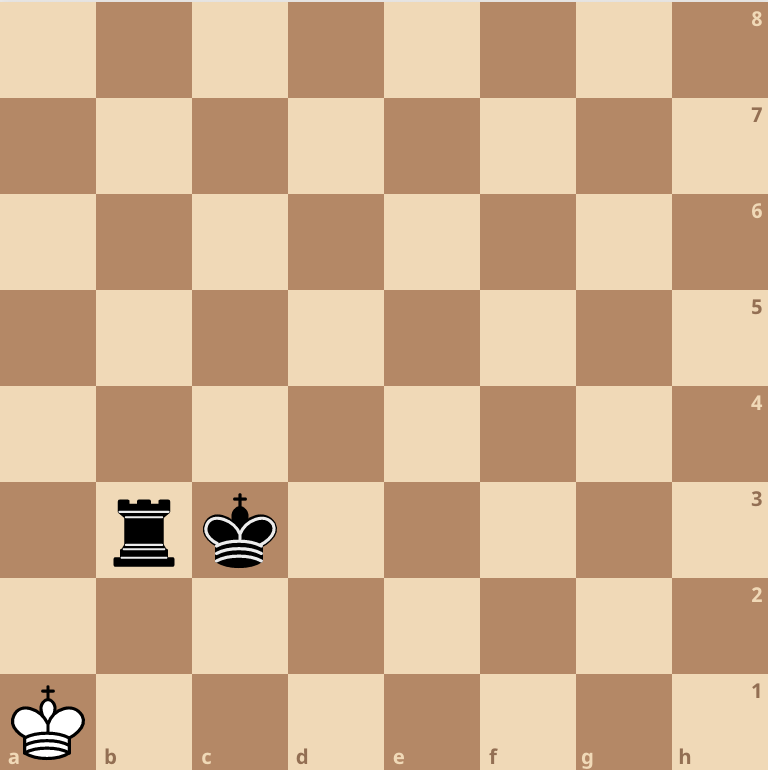
Move 9: Ka1, Kc3
The white king is at its wit’s end. The white king only has access to two squares. Black is currently attempting to position its king to complete checkmate preparations.
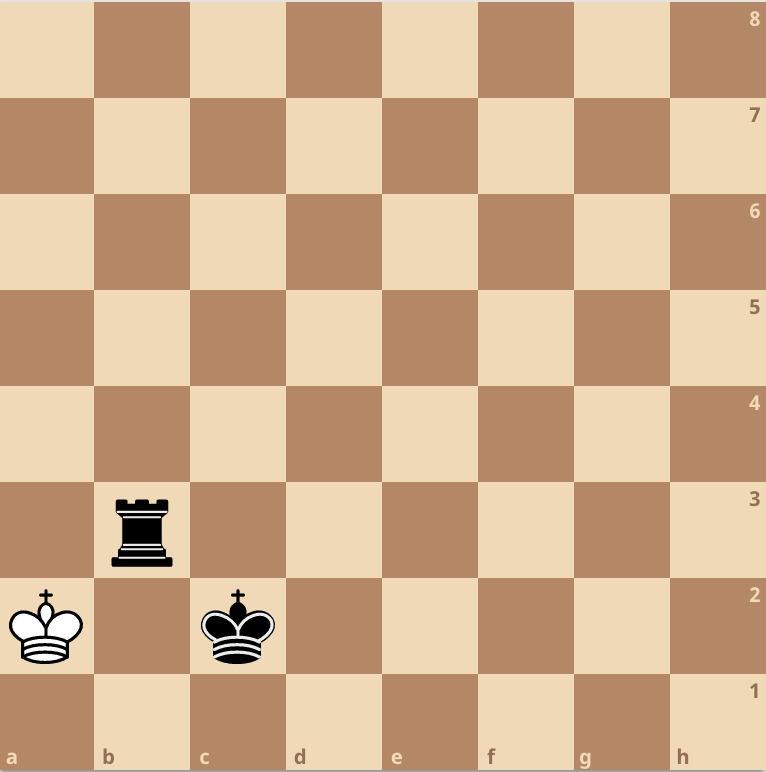
Move 10: Ka2, Kc2
As you may have guessed, the white king moves to the only available square. Black made sure to leave this square open prevent an unfortunate stalemate. Black moves the king down to the c2 square. The white and black kings are staring directly at one another.
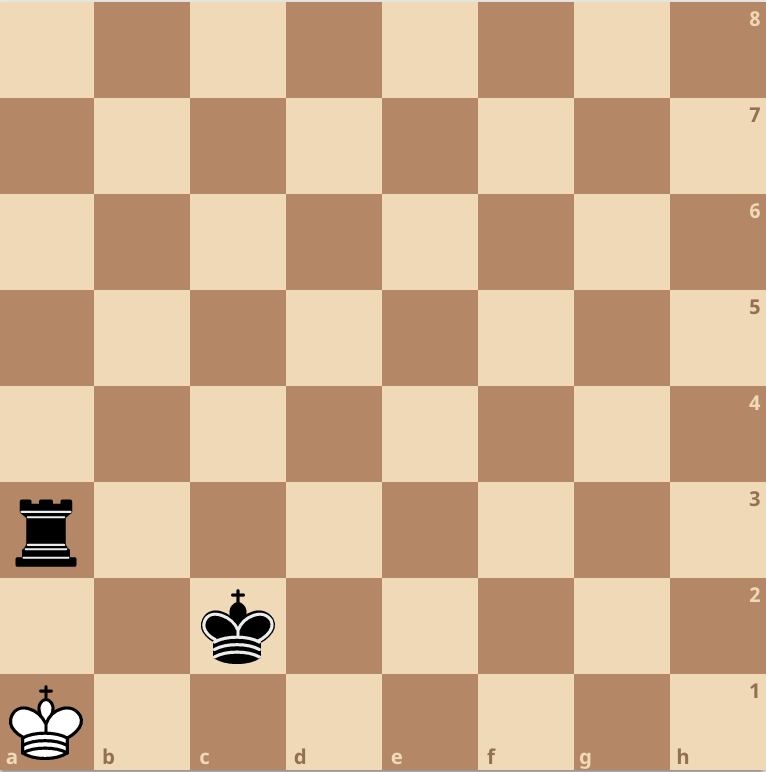
Move 11: Ka1, Ra3#
The white king moves to the only square it can. Now that the white king is nicely tucked away in the corner, Black swiftly moves in for checkmate. The black king prevents the white king from escaping.
